The second I made this easy boxwood photo wall on our stories…. the questions came rolling in! It was so simple and easy – I want everyone to be able to make one! So in this post – there are step by step instructions, and I’m answering all of your questions about the process. From how much it costs, to how we did it, to everything we ordered!
What You’ll Need For This Easy Boxwood Photo Wall

How I made this easy boxwood photo wall:
- I ordered all the items you see above on amazon
- I waited two days, and the boxwood set showed up at my door
- We opened the boxwood box and assembled the pieces. in total there were 12 pieces – we did four rows of three boxwood squares. We assembled them on the ground – and when I say assemble – I mean we snapped them together. They have the snaps on the back of the boxwood panels
- We nailed three nails into the wall
- The backing of the boxwood squares is a plastic grid, so you can literally just hang the assembled panel from the nails
How I made the balloon arch for the easy boxwood photo wall:
- The most important part of making the balloon arch is that you order the correct pieces.
- I think we used about 100 balloons in total – so I was very happy I ordered extra
- We also used about 20-25 feet of balloon arch tape, so I was thrilled that I ordered a 50ft tape
- The balloon buddy that I have linked above ensures that you don’t pass out while trying to inflate 100 balloons.
- The key to making a cool looking balloon arch is that you alternate colors and that you inflate the balloons to be varying sizes. Some very small and some very large.
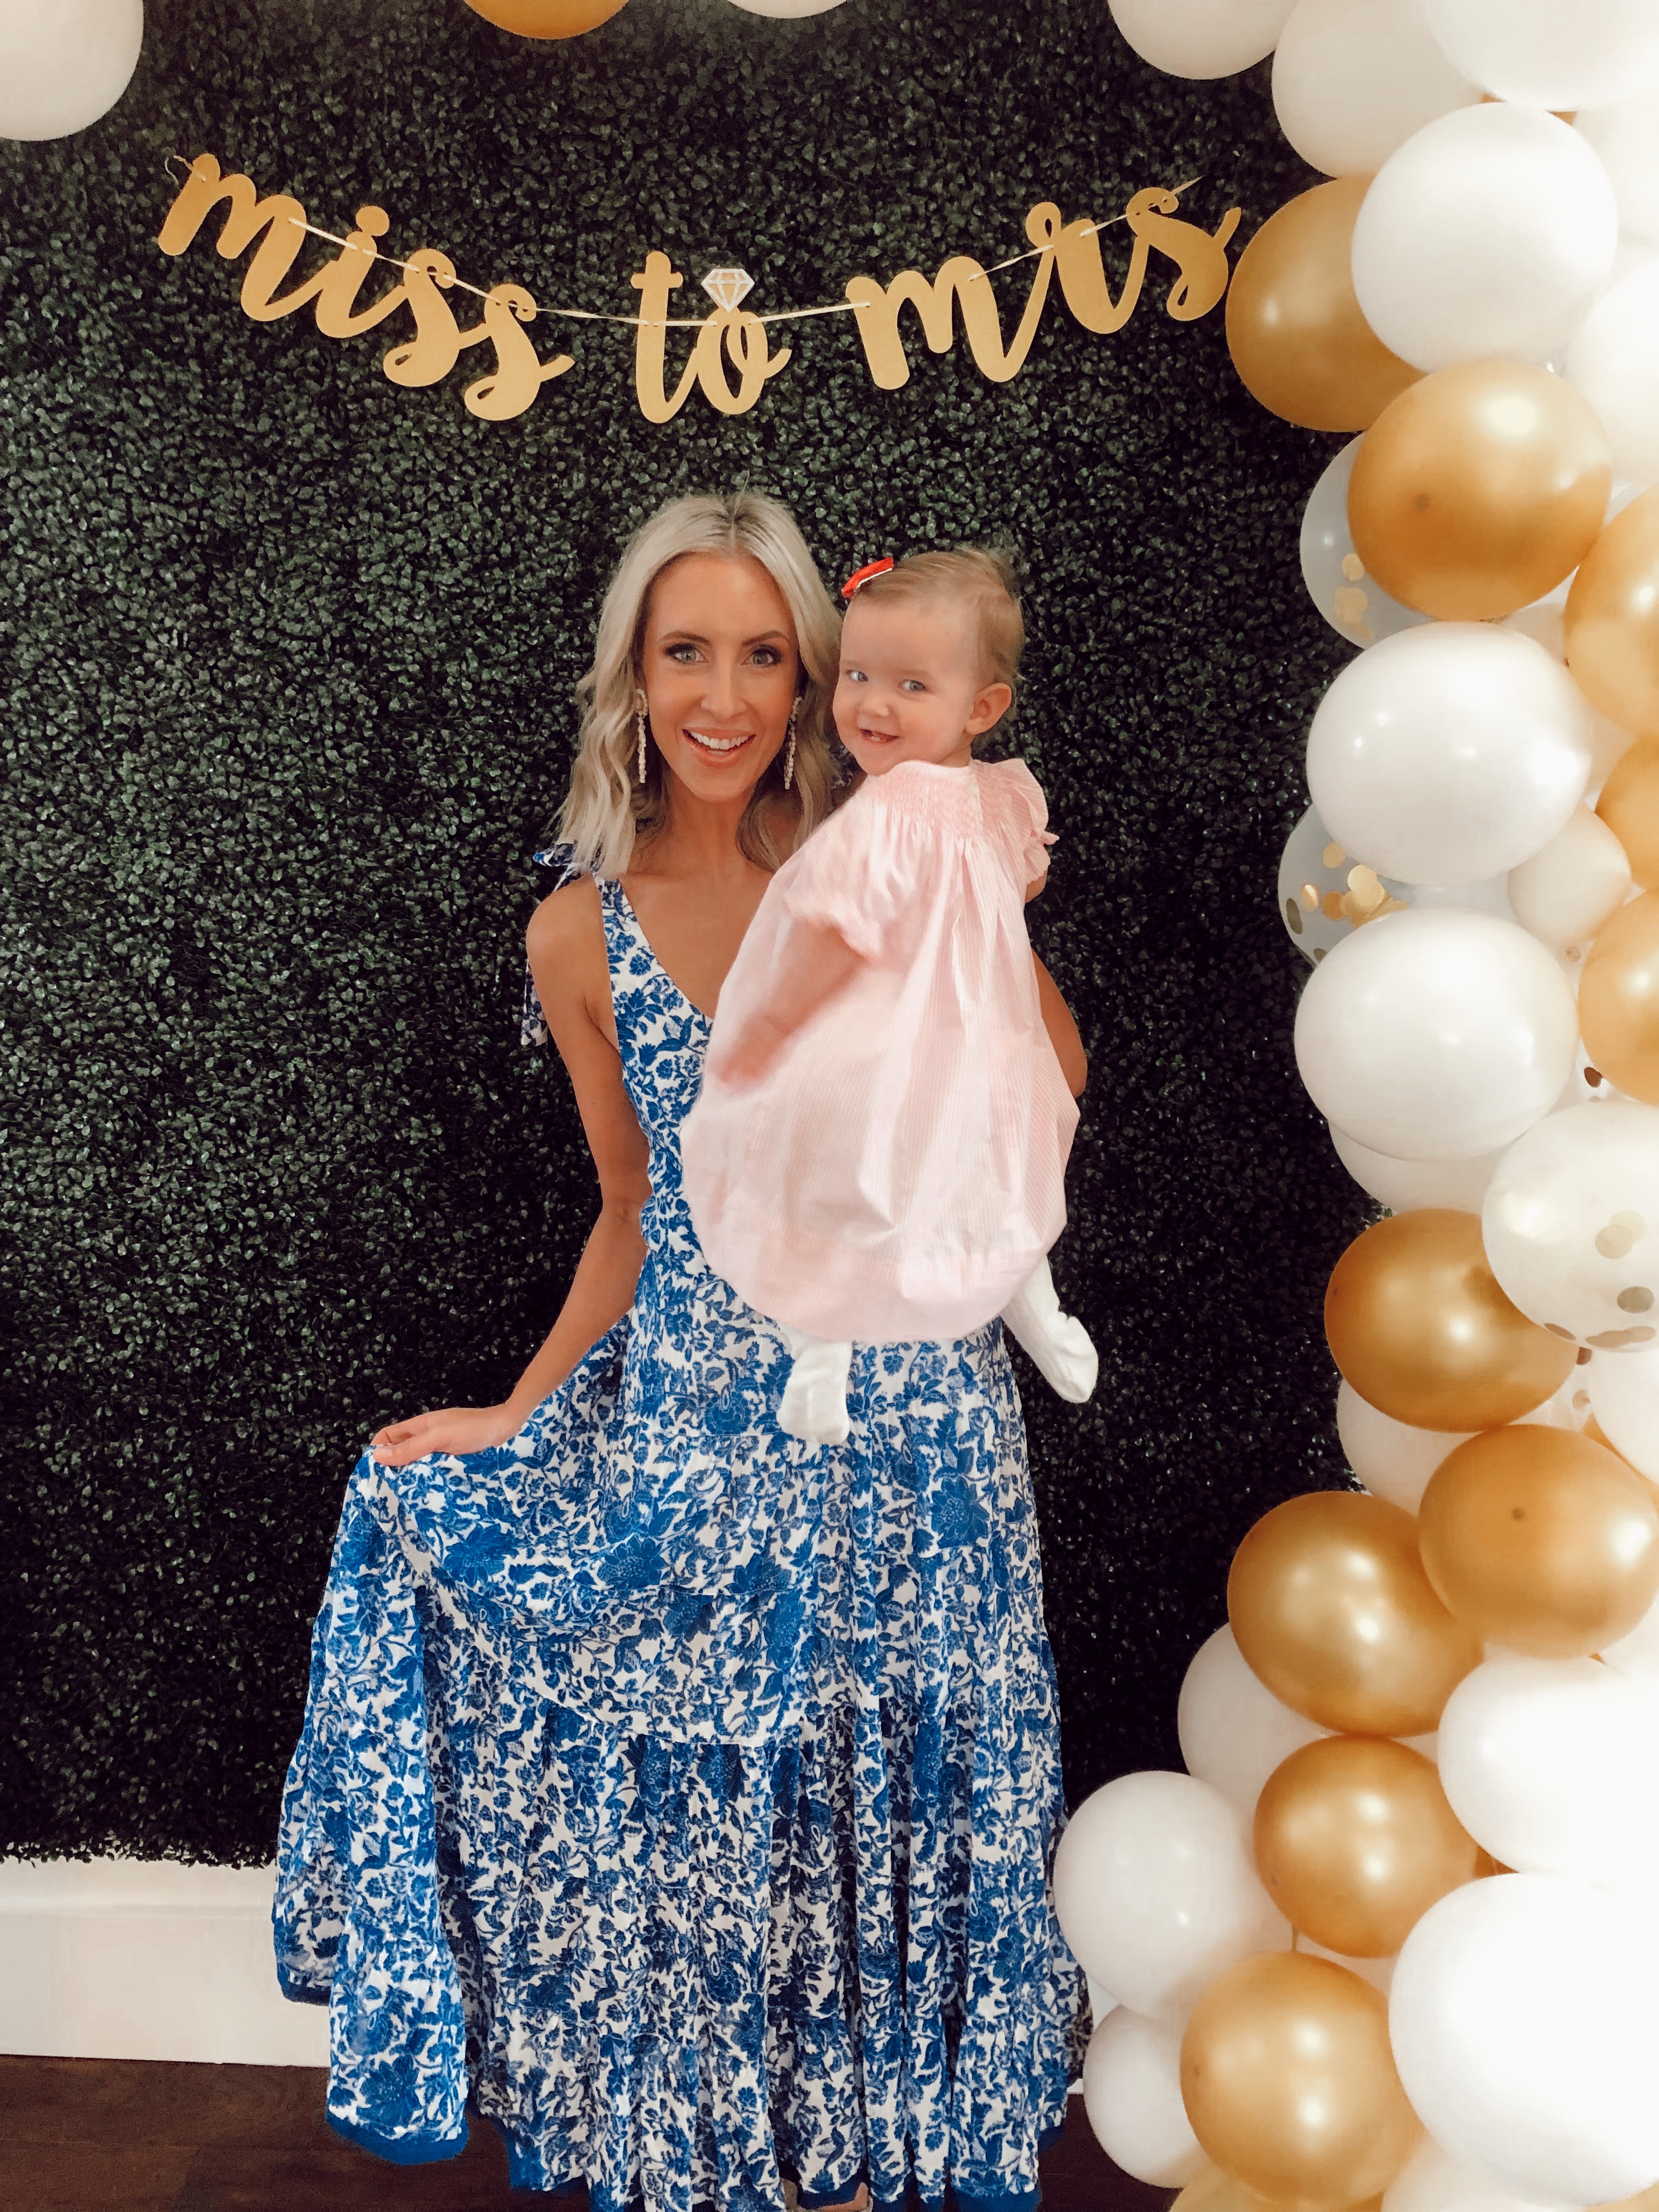
- Also – you can see that the bottom of our balloon arch is very thick, and then as it winds up around the easy boxwood photo wall – it becomes much thinner. You can achieve this look by spacing out your balloons. At the bottom of our balloon arch, I was placing a balloon every other hole in the balloon arch tape. By the time that we got to the end of the arch, I was placing the balloons every 5 holes.
- As I said before, and I will say it again, be sure to alternate balloon colors and balloon sizes, and you really can’t mess it up. The longest and hardest part of making the balloon arch is tying all the balloons. Other than that it’s not bad at all!
How long does it take to make this easy boxwood photo wall?
- The boxwood photo wall takes about 20 minutes to assemble, and then 5-10 minutes to hang. If you are going to attach the balloon arch to a pipe and drape stand and not a wall – it may take an additional couple of minutes. Really the boxwood wall is not time consuming at all.
How did you affix the easy boxwood photo wall to your wall?
- We nailed three nails into our wall and just hung the panels easily from the nails. We figured – it’s nothing a little caulk and paint can’t fix. Also – if you didn’t want to nail into your walls, you could easily zip-tie the boxwood wall to a pipe and drape set!
How long does it take to make the balloon arch portion?
- The balloon arch portion of the wall took about 45 minutes. I think we blew up around 100 balloons to achieve the look we wanted.
How long will the balloon arch last?
- We are going on day 5 and our balloon arch is still going strong! Some of the balloons have deflated a bit, but if you want to make your balloon arch a little bit in advance – not to worry!
How did you affix the balloon arch to the easy boxwood photo wall?
- This was one of the most asked questions we got on instagram. I used green zip ties, fed them through the plastic grid on the back of the boxwood, and through the holes of the balloon tape. Don’t even try to tape your balloon arch to the wall — it just doesn’t work.
Are there other options when you hang the easy boxwood photo wall?
- Yes… you can zip tie the backdrop to a pipe and drape set! However, if you are going for this option, I probably would order a second boxwood box as about 6 inches of your boxwood will be used for the overhang.
How much does it cost to make the easy boxwood photo wall?
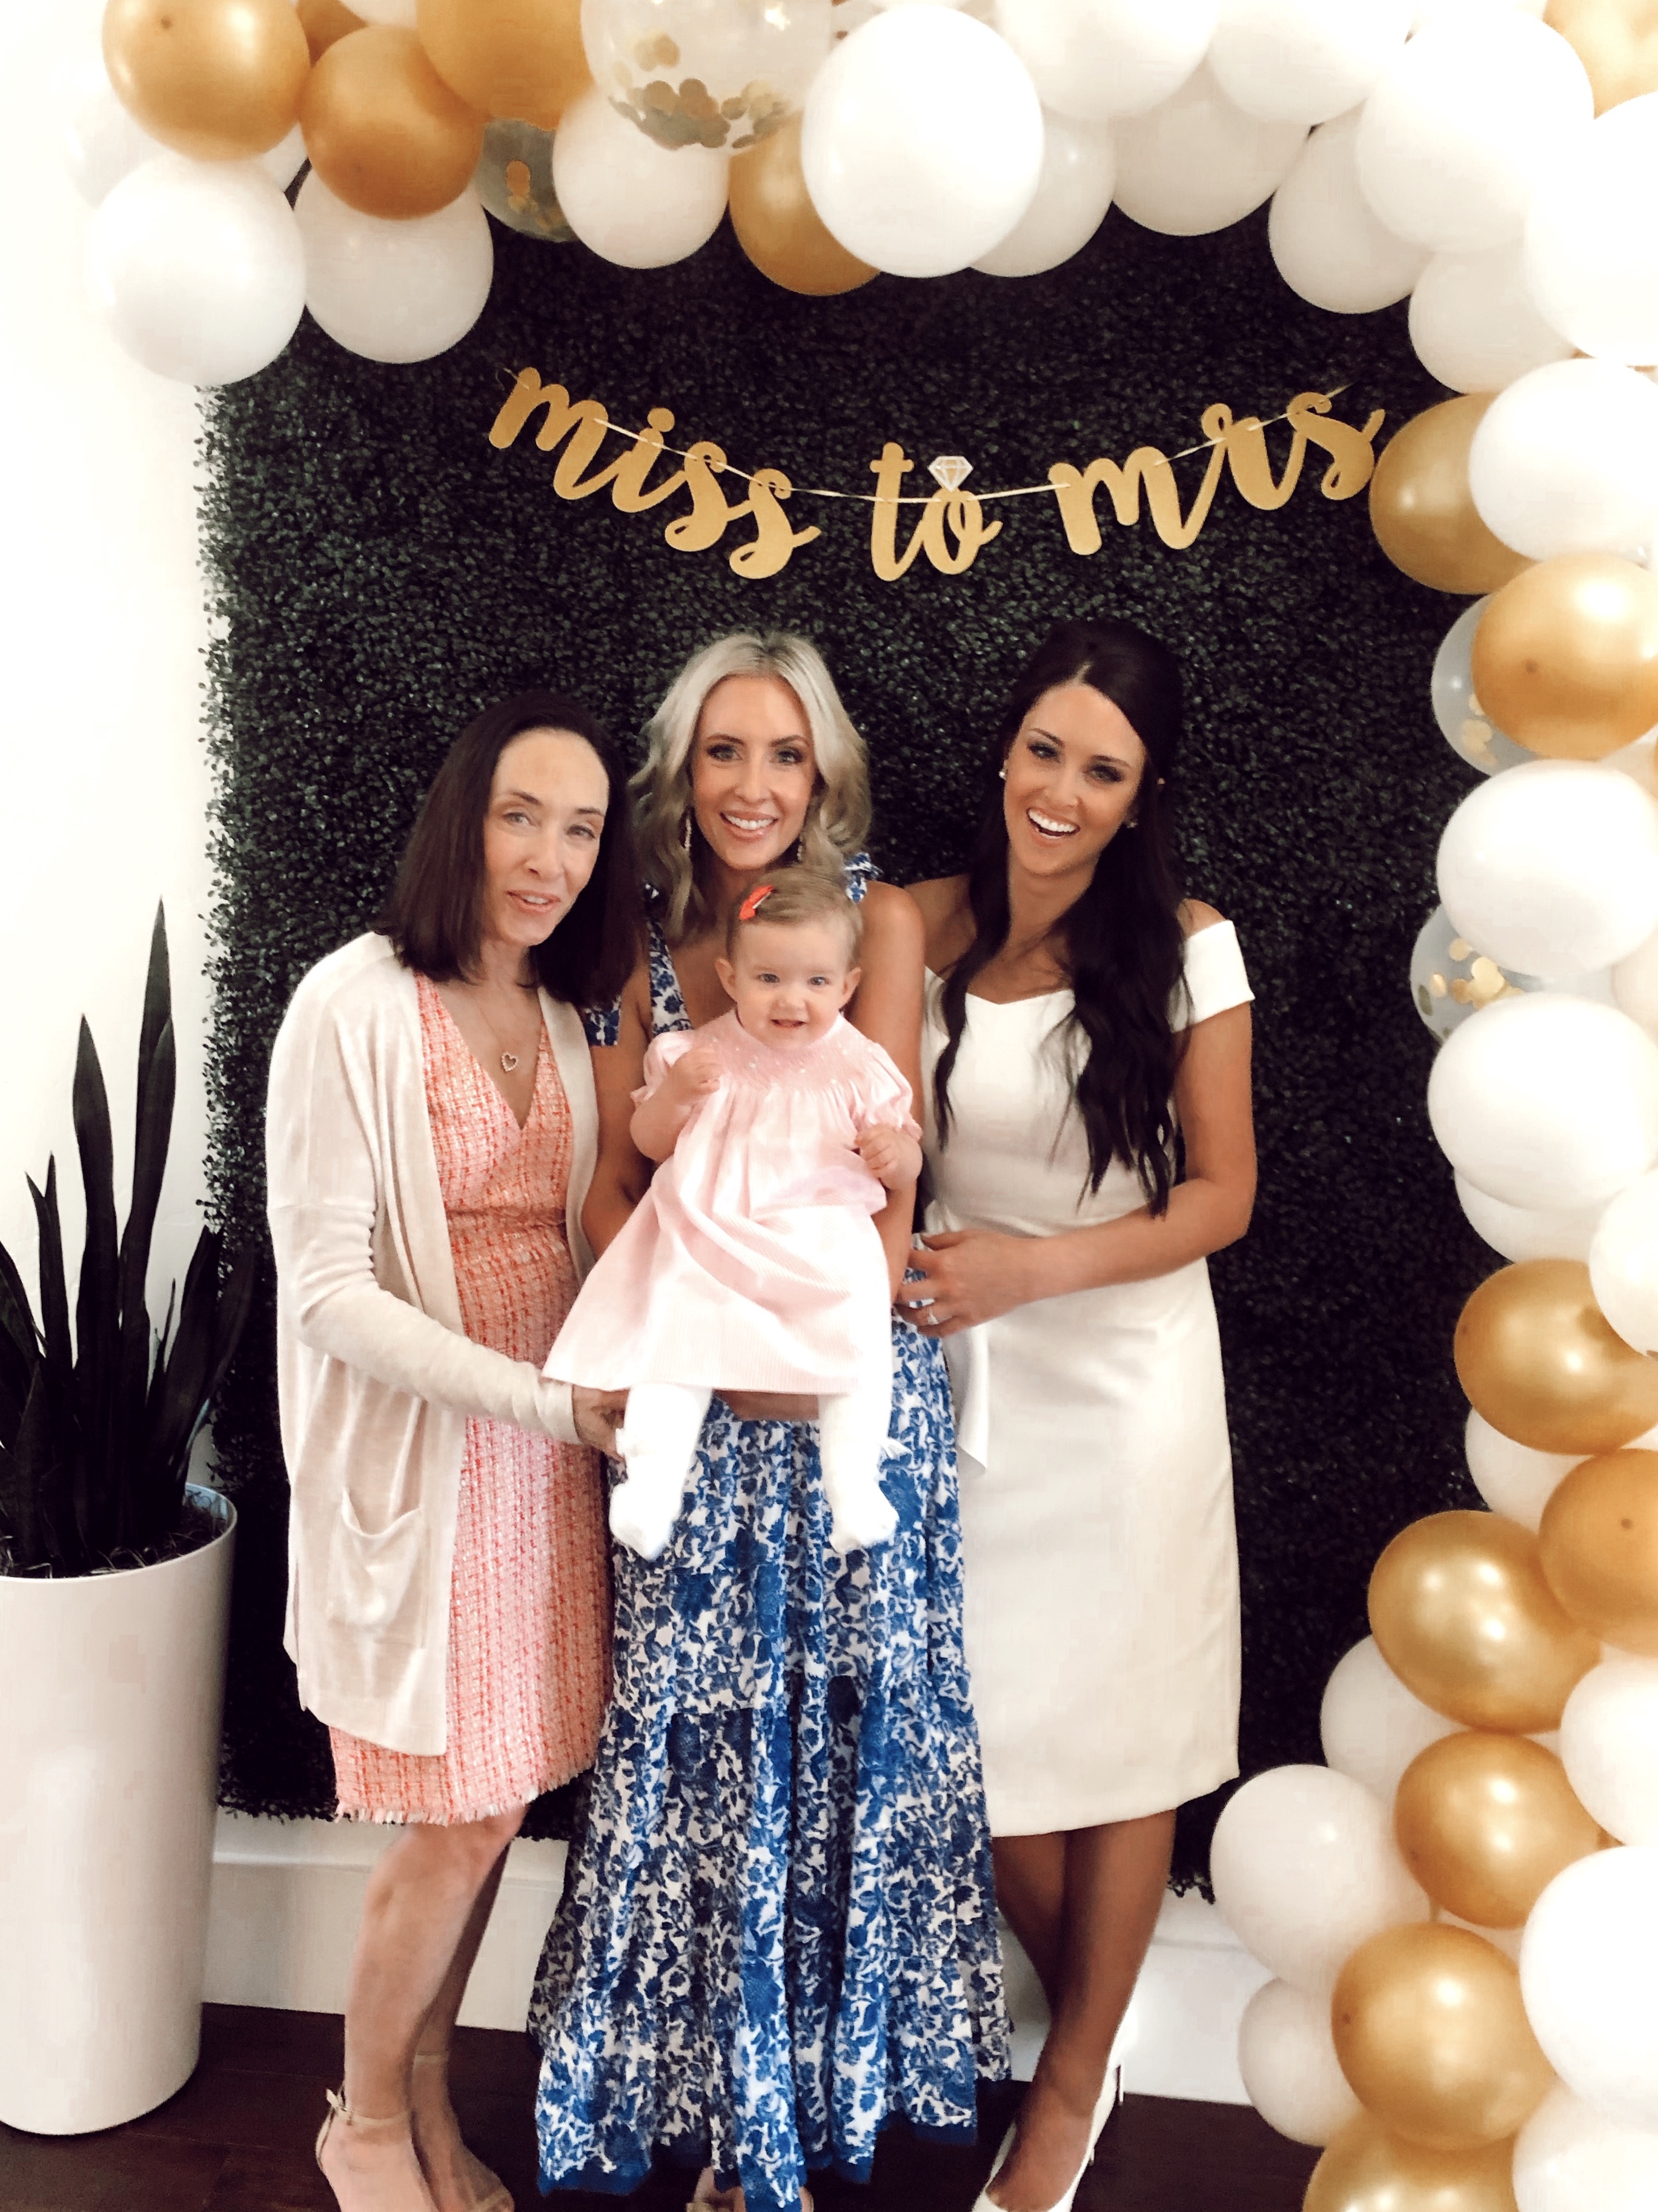
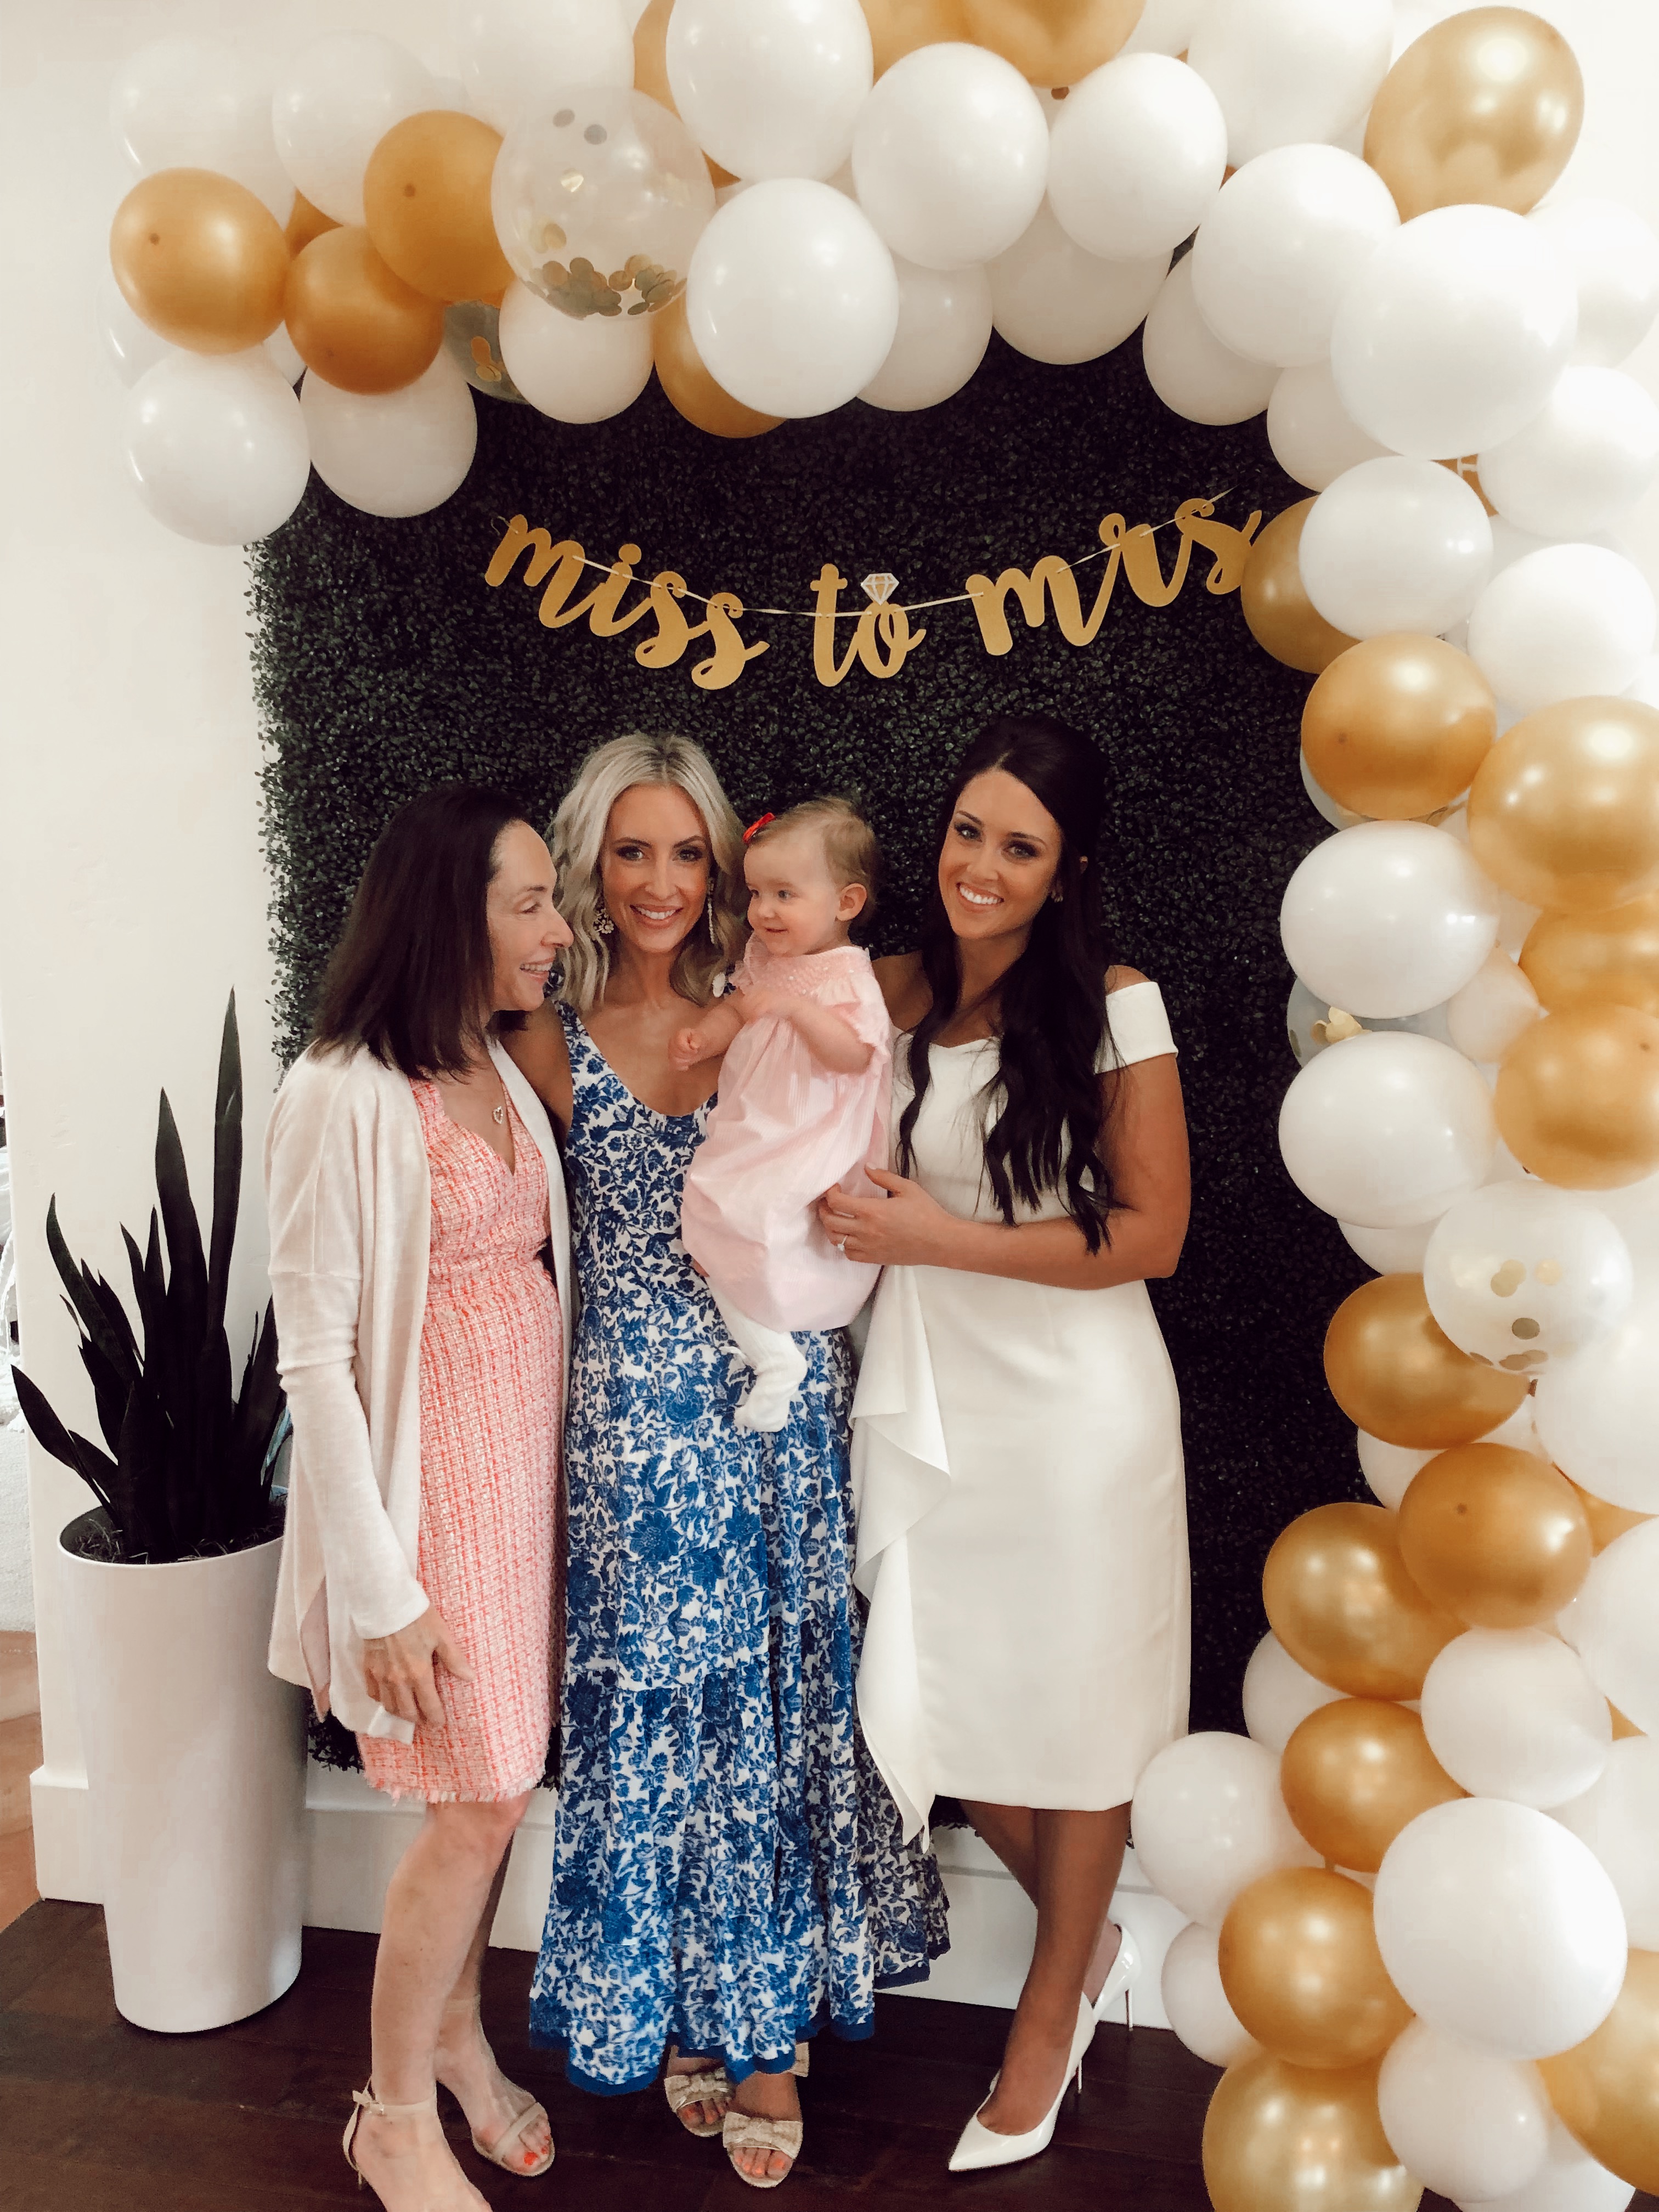
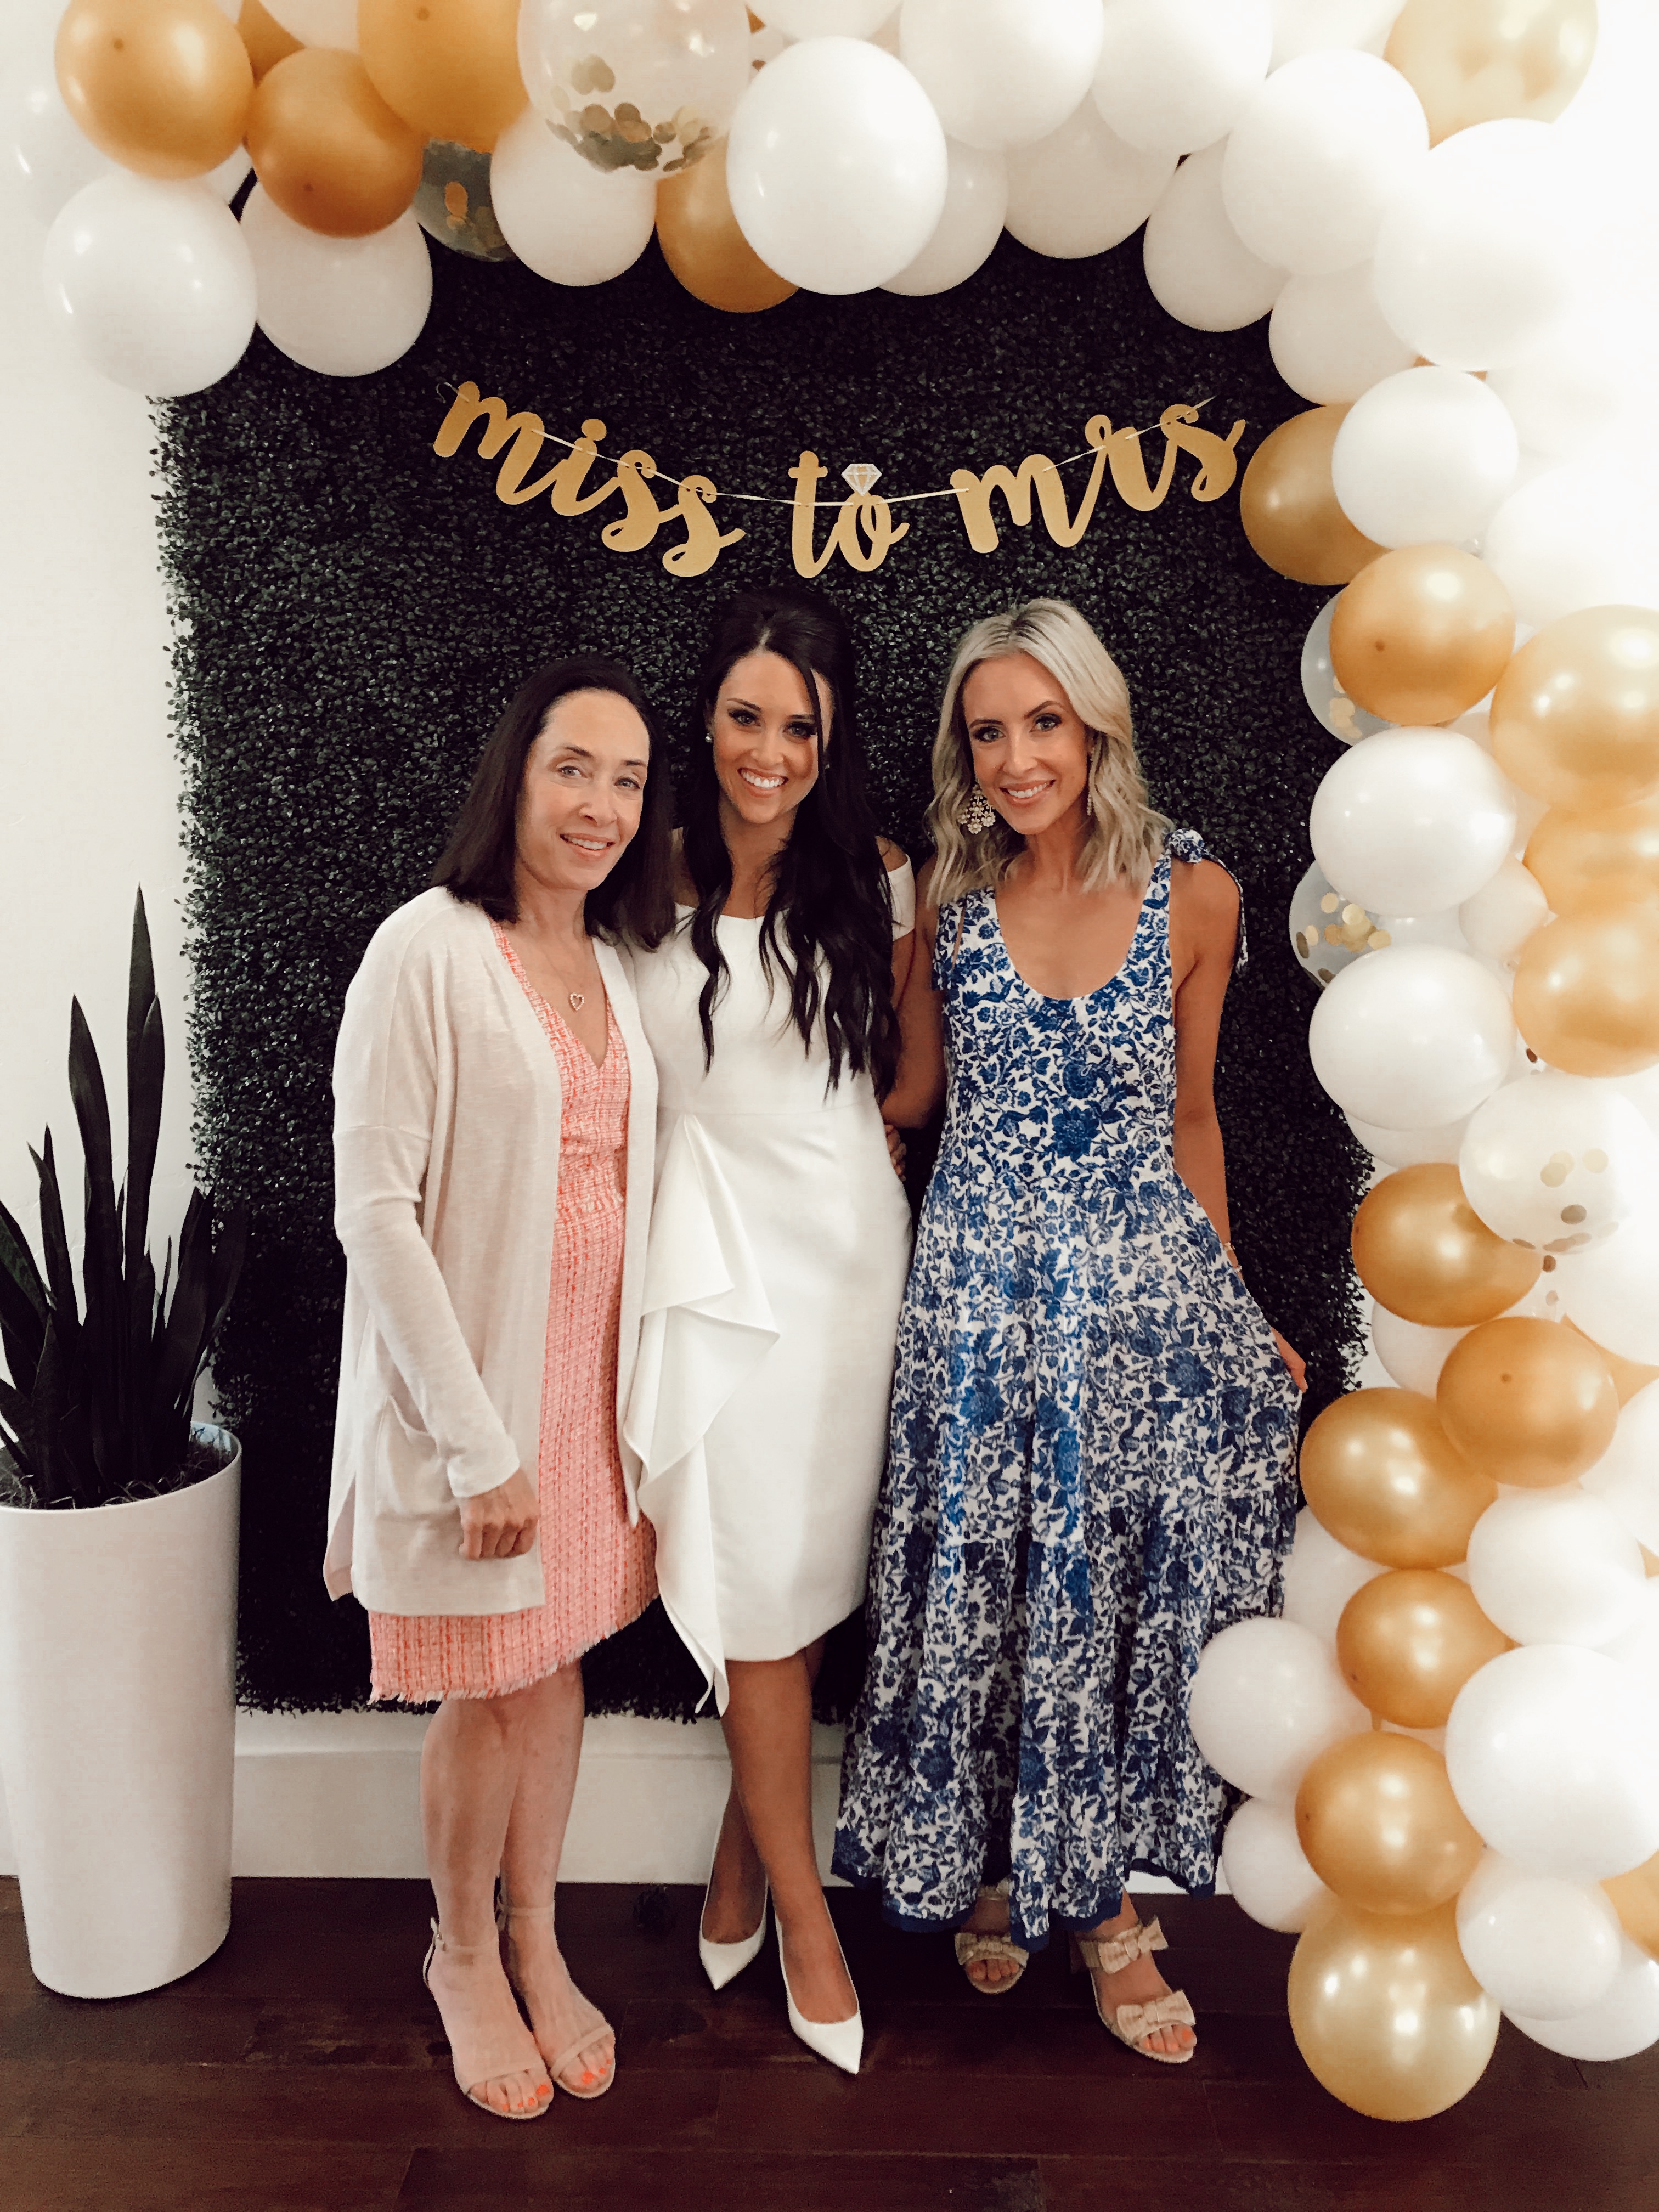
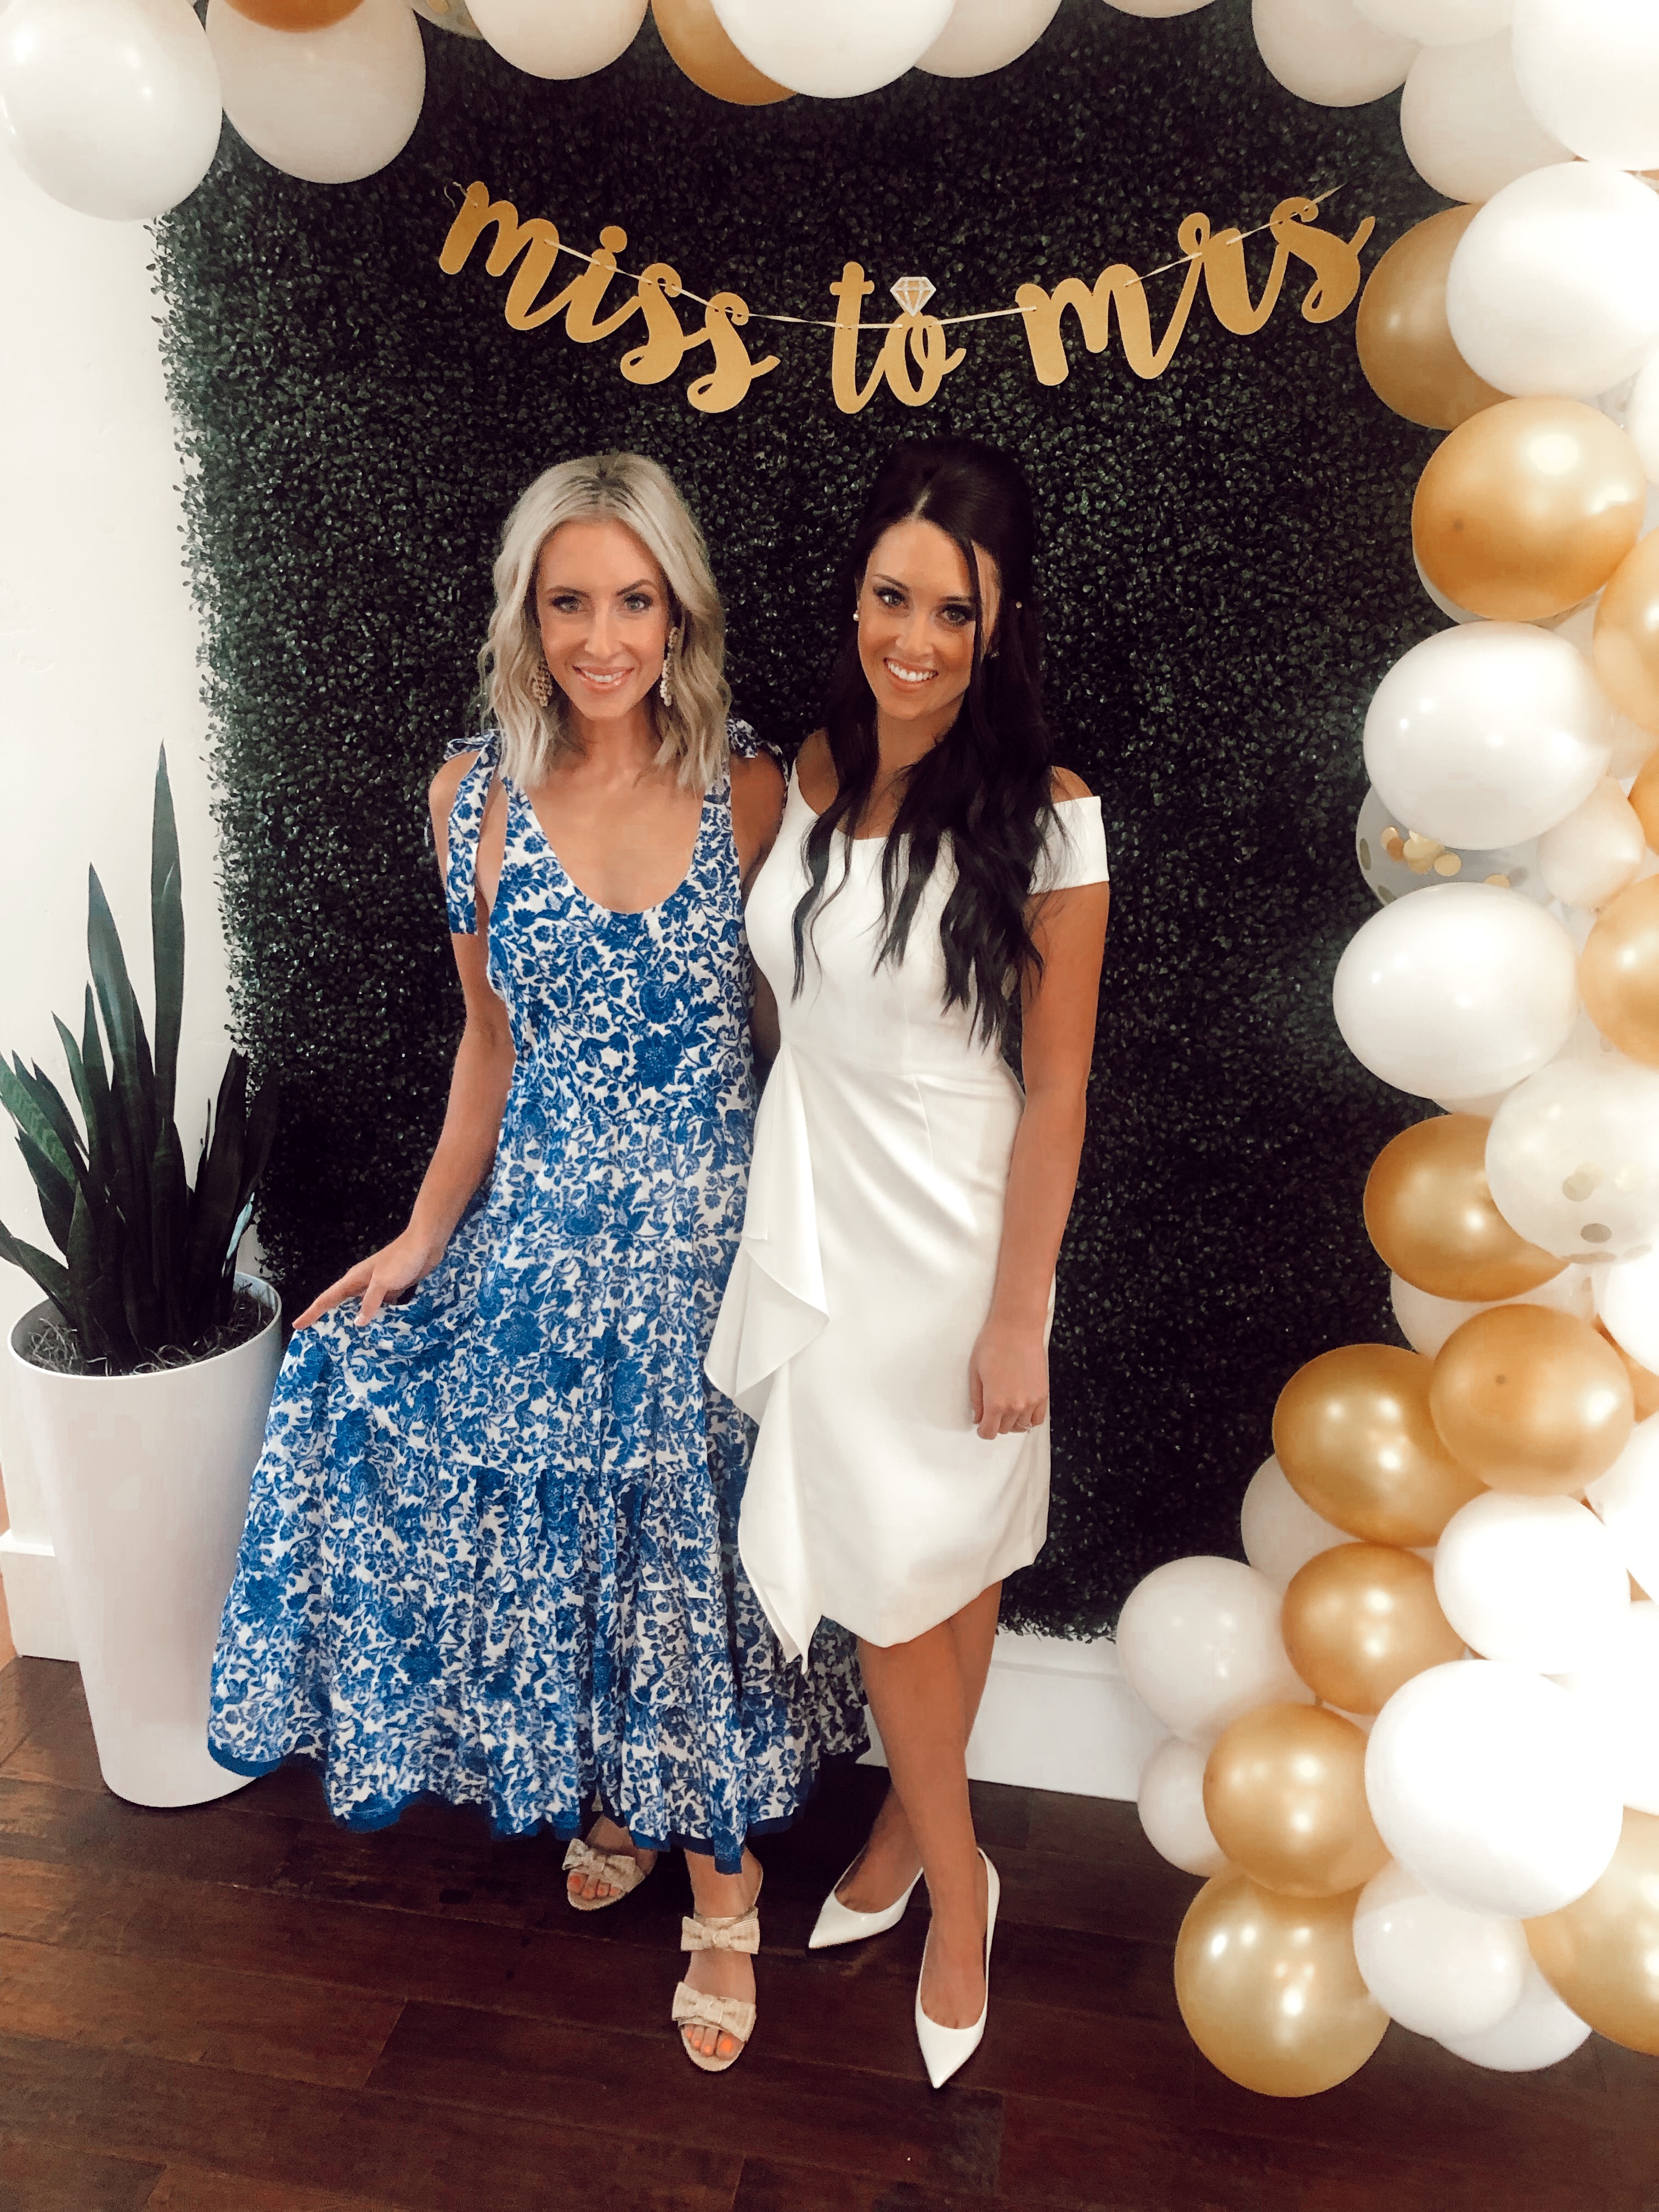
- The boxwood costs $135, the balloons and balloon tape were about $30, and the sign for the wall was $13 – so all in all – the photo wall – that is REUSABLE – is less than $200. I think what really drew me to this photo wall is that you can use the boxwood over and over and over again. Plus – I love how classic it is. It looked great with everyone’s outfits… you really can use it for everything from kids’ parties, to bridal showers, to weddings.